Change N15 Pulsar Fuel Pump
Disclaimer:
Perform all these installs at your own risk.
Know how to use all of your equipment and take necessary safety
precautions when performing ANY modifications and or maintenance items
to your vehicle.
Seek the advice of a paid professional and do not substitute this website for the advice of a paid professional.
This website is how I accomplished my installation and is not meant to be carved in stone.
I cannot be held responsible for a mistake, misprint, or any other error found in this guide.
This guide is intended as a supplement and not to be your only source of information.
Just use common sense.
WARNING:
When working on any form of the car that involved FUEL please be EXTREMELY careful.
Always work in a well ventilated area.
DO NOT SMOKE (yeah thats right, don't even smoke near the door as fuel vapor can fill a room).
Keep all open flames away from your work area.
Be sure to disconnect the battery ground cable before working on your fuel system.
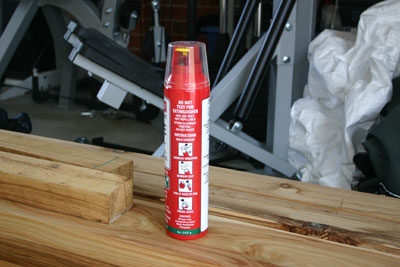
Be sure to have a fire extinguisher handy at all times (having more then one is a VERY wise move).
1. The easiest way to do this is just pop out the fuel pump fuse and crank the engine over a few times (it may start and they stall) this is fine, just crank it a couple of more times after it stalls, pop the fuse back in and remove the keys from the ignition.


5. Then you can carefully tip the fuel gauge assembly towards the rear of the car and pull it out of the tank. You can place the assembly to the side.
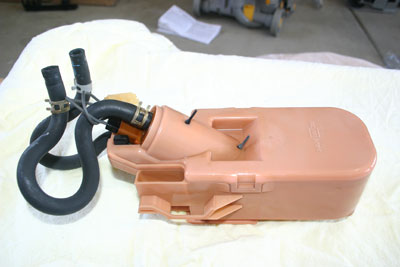
6. Removing the fuel pump chamber assembly. The chamber is to the passenger side of the tank (just follow the fuel lines). Lift the chamber up a little and slide it forward. Then take it from the tank. Once out cover the fuel tank opening with a clean rag.


Perform all these installs at your own risk.
Know how to use all of your equipment and take necessary safety
precautions when performing ANY modifications and or maintenance items
to your vehicle.
Seek the advice of a paid professional and do not substitute this website for the advice of a paid professional.
This website is how I accomplished my installation and is not meant to be carved in stone.
I cannot be held responsible for a mistake, misprint, or any other error found in this guide.
This guide is intended as a supplement and not to be your only source of information.
Just use common sense.
WARNING:
When working on any form of the car that involved FUEL please be EXTREMELY careful.
Always work in a well ventilated area.
DO NOT SMOKE (yeah thats right, don't even smoke near the door as fuel vapor can fill a room).
Keep all open flames away from your work area.
Be sure to disconnect the battery ground cable before working on your fuel system.
Be sure to have a fire extinguisher handy at all times (having more then one is a VERY wise move).
DO NOT ATTEMPT THIS WITHOUT ONE OF THESE HANDY
Do NOT ATTEMPT THIS UNLESS YOU HAVE LESS THEN 1/4 tank of fuel left.
Now that's out of the way, first things first is bleed the fuel pressure from the system.
1. The easiest way to do this is just pop out the fuel pump fuse and crank the engine over a few times (it may start and they stall) this is fine, just crank it a couple of more times after it stalls, pop the fuse back in and remove the keys from the ignition.
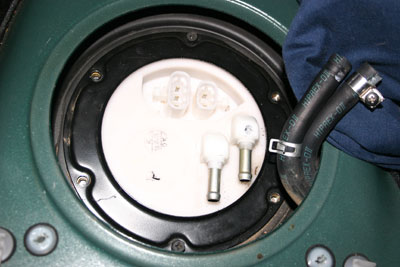
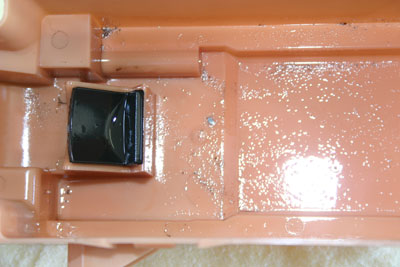
1. The fuel pump is located under the inspection hole under the back seat. To remove the rear seat there are 2 white clips that you pull forward and then lift the rear seat. Once the seat is removed you will have 3x12mm bolts holding the cover on, remove these and lift the grey cover out of the way. If like me you will need to get rid of the thick layer of dust on the top of the fuel assembly. Remove the electrical connectors then vacuum away until it's
perfectly clean
perfectly clean
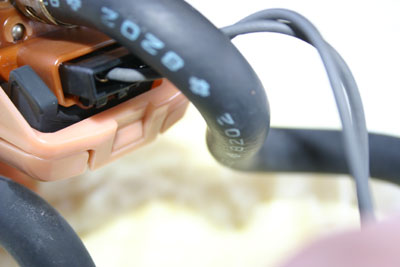
3. Once clean make sure you have some rags handy, now
disconnect the fuel lines. Use pliers to remove the 2 fuel lines. Tuck the fuel lines to the side and remove the 6x 8mm bolts holding the fuel assembly in place.
disconnect the fuel lines. Use pliers to remove the 2 fuel lines. Tuck the fuel lines to the side and remove the 6x 8mm bolts holding the fuel assembly in place.
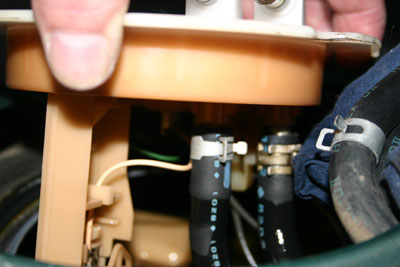
4. Lift the fuel gauge assembly up and disconnect the tubes and electrical connector underneath.
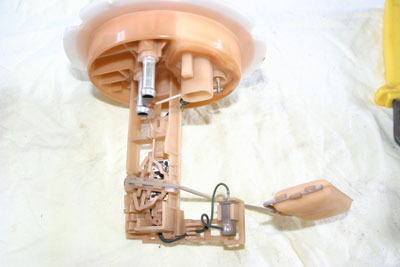
5. Then you can carefully tip the fuel gauge assembly towards the rear of the car and pull it out of the tank. You can place the assembly to the side.
6. Removing the fuel pump chamber assembly. The chamber is to the passenger side of the tank (just follow the fuel lines). Lift the chamber up a little and slide it forward. Then take it from the tank. Once out cover the fuel tank opening with a clean rag.
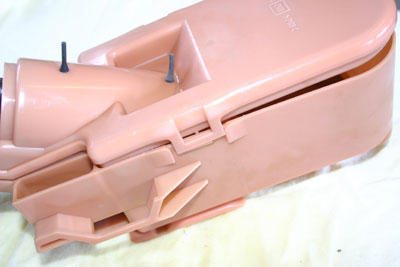
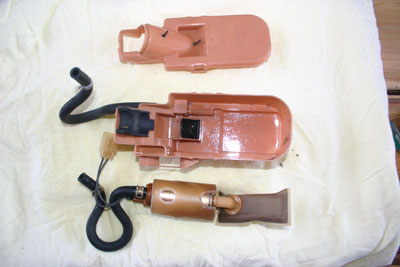
7. Now the whole reason we need this is to pop the unit apart and replace the fuel pump. There are 3 clips around the unit, unclip the top cover and lift it off (be careful with the clips as the plastic may be brittle).
8. Now the unit is apart remove the pump and strainer, disconnect the hose and plug from the pump and put them both onto your new pump.
9. Carefully remove the strainer from the old pump and put onto the new
pump. Use the newly provided clip to hold the strainer onto the new
pump.
pump. Use the newly provided clip to hold the strainer onto the new
pump.
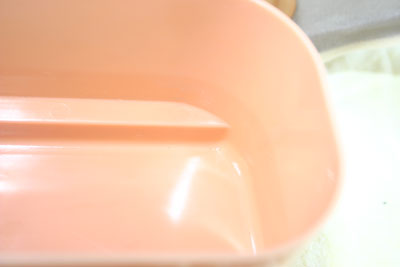
10. Clean and wipe out the chamber and reassemble the fuel chamber.
11. Put the new pump with the old sleeve, strainer, electrical connector and fuel line back into the chamber and clip the lid back on. Slot the chamber back into the fuel tank and slide it into place. There should be a small click once it's in place.
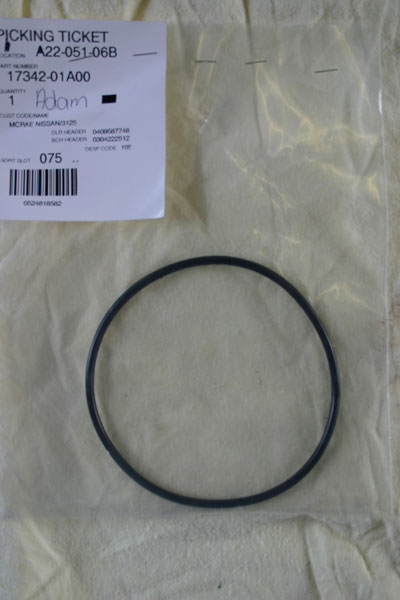
12. Put the fuel assembly back into the tank and connect up the electrical connector and the 2 lines inside the tank. Put the NEW o-ring in place and put the fuel assembly ring on and tighten down the 6x 8mm bolts. Once there in place plug the electrical connector back on and put your fuel lines back. Install the grey cover in reverse order of removal.
NOTE: Some people don't replace this o-ring your mileage may vary. If you use the old one, once exposed to air it may not fit, throw it in the freezer for 5-10mins then take it out and put it straight on, you "should" be ok, but it's always best to replace the o-ring with a new one.
Please Register.
If you wish to add comments.
Cheers
Adam